

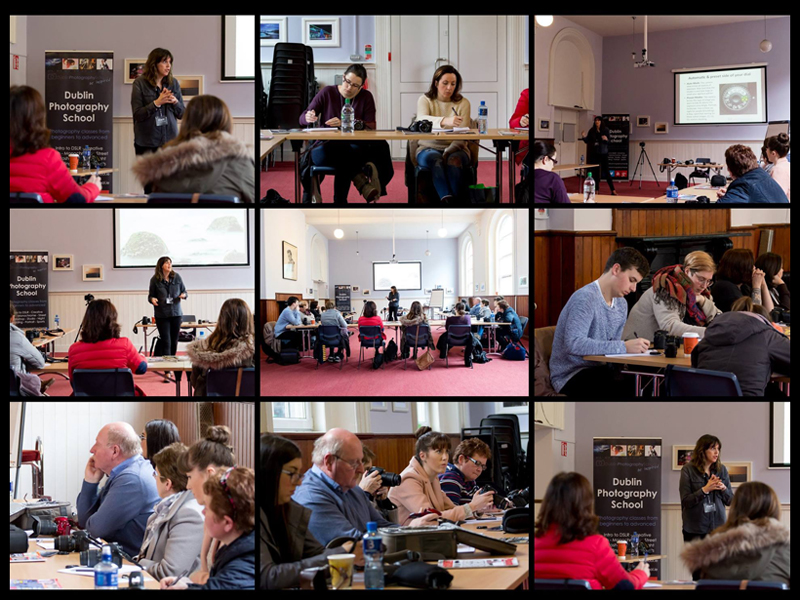
DPS Bites: Night Photography
5 Tips For Better Night Photographs
 Night photography is a massive genre & can cover a huge range of subjects from astro photography & light painting, to landscapes taken under moonlight, traffic light trails & everything in between. Each one of these specific styles has it’s own rules & techniques that are popular among there practitioners, however this article is aimed at the beginner venturing out at night to photograph things like cityscapes with light & traffic trails. So, if you have just managed to get you head around ISO, F-stops & Shutter Speeds, then you will be well on your way to nailing down traffic trails & night cityscapes.
Use A Tripod:
Like any good landacape shoot, night photography starts with a tripod. When using a tripod you are able to keep your camera steady & can use much longer shutter speeds without camera shake. The longer your shutter is open, the more chance you will have of creating traffic trails & turning any movement into ghosting. Tripods range in price & quality & finding the right one for you may requirs some decent research. Two tripods that Dublin Photography School recommend are, the Hahnel Triad Lite 60 Tripod & Manfrotto Compact Action Tripod . You can order them here (cheeky plug). When looking for a tripod it should satisfy a very simple requirement ….it has to be stable enough to keep your camera steady, after that, material, style, height, head & brand are a matter of personal preference.
Use A Low ISO:

Something that surprises many newbie photographers is using a low ISO….they have learned that a high ISO is used in dark & low light conditions & yes that is generally true (if you are shooting hand held at night), however since you went to all the hassle of dragging your tripod into town, you might as well achieve the best reuslts by using a low ISO. Your image will have less noise & less grain, & by creating longer shutter speeds you will add more creativity to your shot.
White Balance:

Most cameras by default are set to AWB (automatic white balance) & while this does a good job for about 99% of scenes, it will struggle to get colours correct at night, as the scene will be lit by multiple light sources, for example headlights, neon lights, traffic lights & street lights. This can easily confuse any camera system. The solution is simple however, you can change the white balance in your camera to match the scene. Try setting your camera to ‘Incandescent or Tungsten’ to eliminate that strong orange colour in your night images. Make sure to set it back to AWB when you are finished night shooting.
Try Using Manual Focus:

Many cameras will struggle to achieve focus in low light situations & how much it will struggle will depend on a couple of things. Firstly, how well lit up the scene is & the second is the camera model itself. To get around this & to make sure you have full control of your image, try turning on your camera’s manual focus & adjust the focus to the most prominent subject of interest in your scene. If you are not sure, simply focus one third of your scene as this will put a large amount of your scene into clear focus. Again remember to turn back on your ‘auto focus’ when finished, as it may result in all your images being out of focus when photographing later if you don’t.
Turn Off VR, IS, OS or SS:

Image stabilization systems are designed for producing sharper handheld shots by utilizing tiny motors that cancel handshake & barrel vibration. This works fantastically & should always be left on when shooting handheld, however when used with a tripod, these motors can actually cause the image to be slightly softened & look unsharp. So, remember switch it off while you have it on a tripod & then turn it back on once you have finished shooting.
Bonus Tip:
Why not join the 7 week Beginners Course at Dublin photography School. It includes two on location night shoots.


